
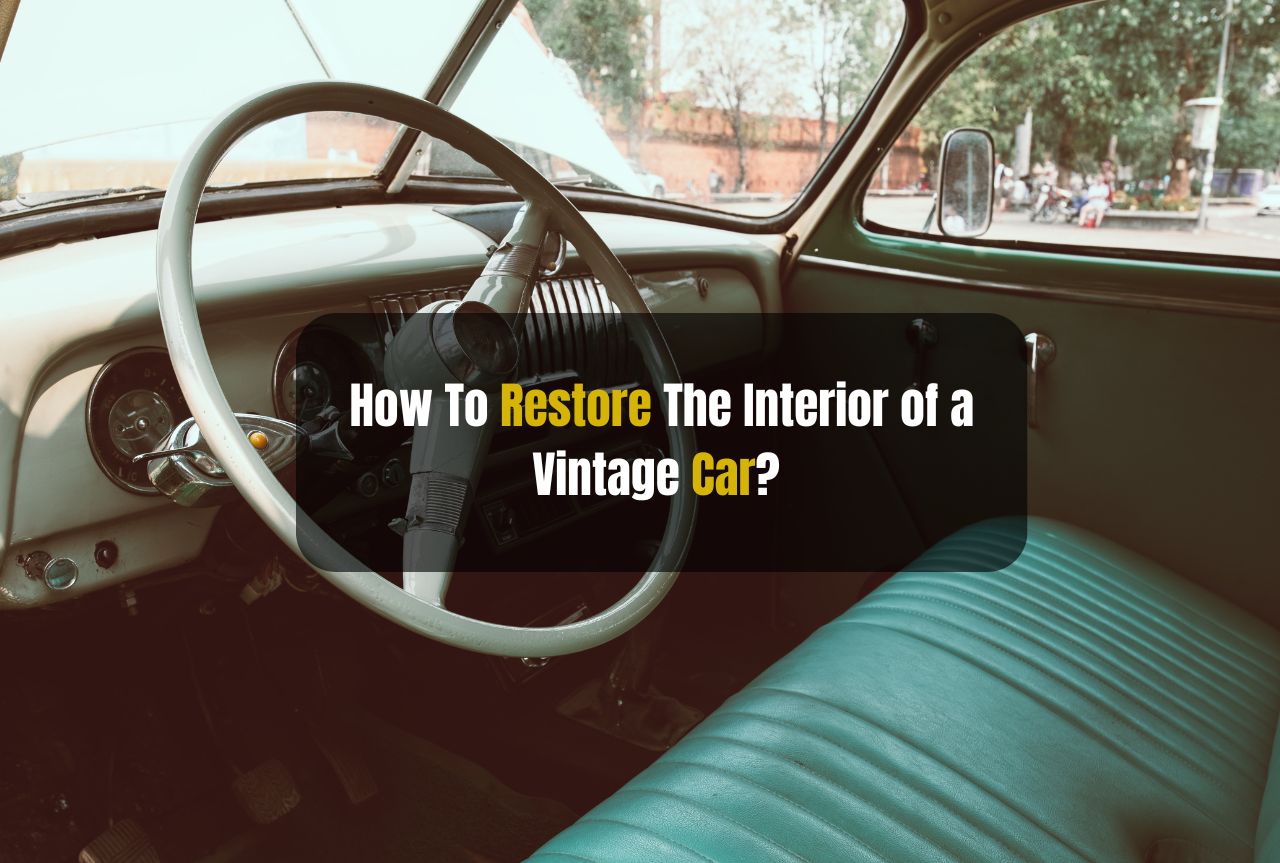
A vintage car’s interior is indeed a beauty to behold, but restoring it to its original glory requires patience, attention to detail, and a lot of research. Whether you’re an avid car enthusiast or new to the world of classic vehicles, here’s how you can restore your vintage car’s interior.
Assessing the Interior
Before you start any restorative measures:
- Visualize what your treasured automotive cabin looks like at the moment.
- Inspect the seats, the upholstery, the dashboard, instruments, carpets, and floor mats.
- Look at the condition of the headliner, sun visors, door panels, and trim as well.
- When you finish inspecting, outline the damage, cracks, or signs of premature aging if you discover any. This step will bring you closer to understanding the true investment needed to bring your car back to its original condition.
It will also help you set the budget and timeframe for the project.
When I first started restoring vintage cars, I neglected to thoroughly inspect the inside. I jumped right on fixing it up without double-checking. During my first project, I ended up spending twice as much time and money as I had planned solely because I didn’t take the time to look over every aspect of the interior first.
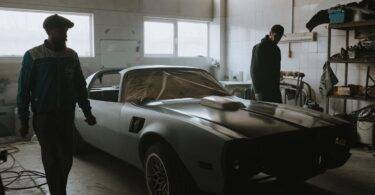
Planning the Restoration
Once you have a general understanding of your interior’s current state, you can begin to plan the restoration. Learn about the original manufacturer specifications and the level of historical accuracy and authenticity desired for your vehicle. This will assist in sourcing proper parts and materials.
Decide what you want the restoration to look like. Will you compromise your car’s originality for modern upgrades in comfort or convenience? Consider color palettes and textures to go with the overall look of the vehicle.
Write a plan for your restoration and develop a checklist of tasks and timelines for restoring your property to its original state. Break down your project into manageable pieces and set realistic dates for each piece of restoration work.
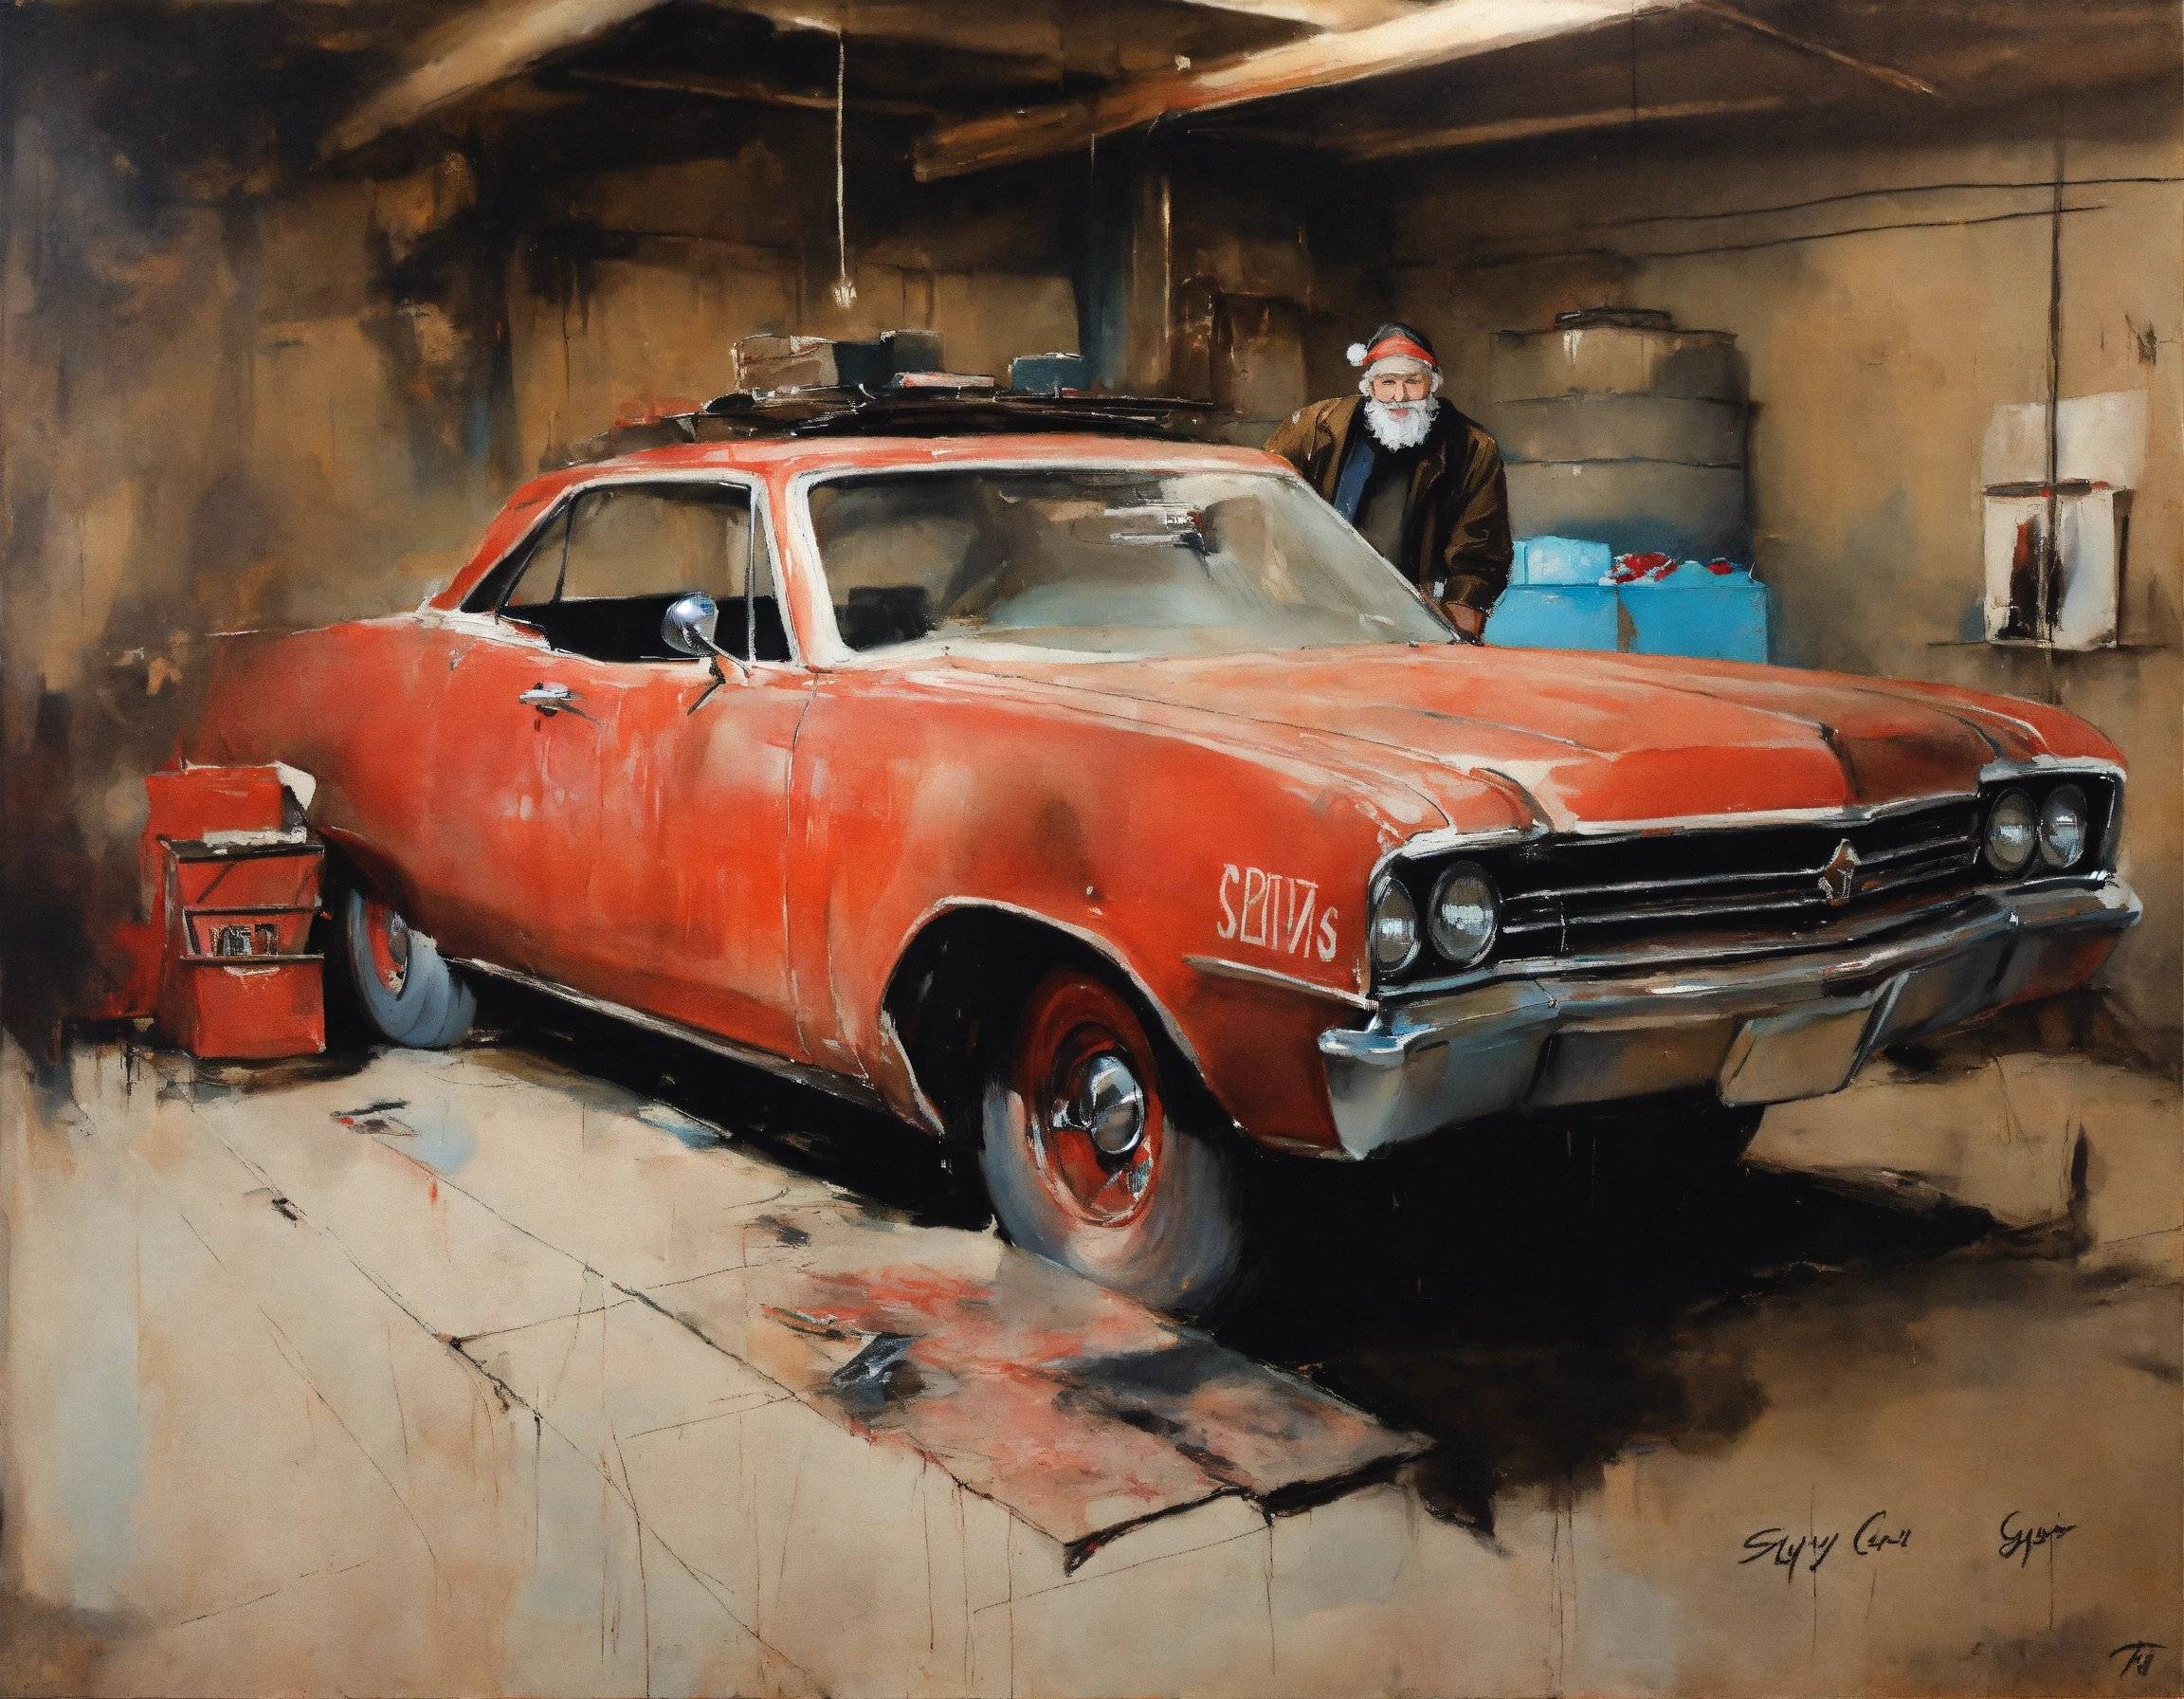
Disassembling the Interior
Long before you get to cleaning and repairing anything, you might first have to disassemble the interior of your old car. This can be an intimidating, challenging process, but it is manageable.
Remove all of the interior pieces in a safe manner, number them if possible, and keep them organized so that they can match up when reassembled. Take lots of pictures of the procedure if you want to double-check your work.
As each part is removed, examine hidden spots under floor pans and in the trunk, and look for shorts in wiring and other electrical mechanisms.
Cleaning and Repairing Components
Disassemble the interior and clean it well. Use the right products for the job (vinyl, leather, metal, plastic, etc), and be careful not to disfigure the delicate surfaces.
Then, make any necessary repairs, such as replacing or patching worn-out upholstery, reforming or repairing cracks or holes in plastic and metal parts, and remedying frayed carpets and mats.
For components to be finished with paint or refinish, properly prepare the surfaces to guarantee that the finished product is long-lived and of professional quality.
Replacing Irreparable Parts
A few components may be so badly cracked or worn that they will have to be replaced. For these, seek out original equipment manufacturer (OEM) parts whenever possible to preserve the historical and physical integrity of the instrument and the fit of a part as it was originally designed.
When this option is not possible, look for OEM aftermarket reproductions or, as a last resort, consider custom fabrication.
When you install the new parts, take your time to ensure everything fits properly and is in the right alignment. Follow the manufacturer’s instructions carefully, and ask more experienced restorers for help when you get stuck.
Reassembling the Interior
Once all these parts have been cleaned, repaired, and replaced, start putting the interior of your classic car back together, starting with the big items – such as the seats and dash – and working your way down to the small trim and details.
Double-check fitment and orient each part as you install it, making corrections as you go along. Test all electrical systems and features to see if they’re operating properly.
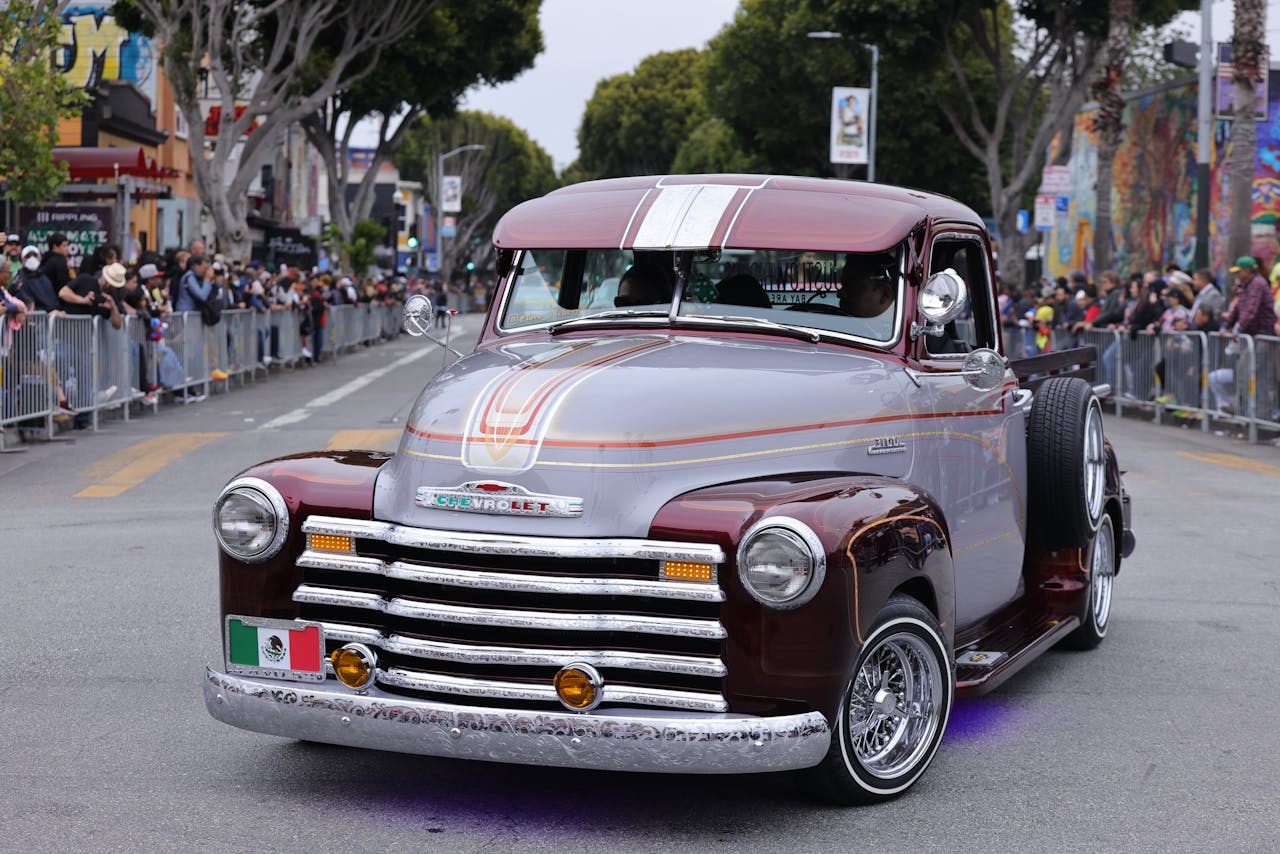
Final Touches and Detailing
At this point in the build, with your vintage car almost complete, you can begin the important finishing touches that will complete the interior of your car with an amazing shine. Clean all of the surfaces, polish, polish, polish, and consider adding details such as new or restored emblems or badges and install new floor mats or seat covers.
Be sure to use UV protectants and leather conditioners to keep out the elements, protecting your now-breathtaking interior from cracking and fading for years to come. Keep your car running, and your restoration will.
In between your vintage joyrides, you’ll want to either drive your car for 30 minutes each week or, if you’re going to be storing it, run the engine every two to six weeks (depending on ambient temperatures and the type of fuel being used, if any). Use a fuel treatment for empty tank storage in this situation.
The Bottom Line
Restoring a classic car interior is a worthwhile pursuit, one that demands a good deal of time and attention to detail. But if you’re willing to take the time to plan, do your research, and stick to your plan, you can be rewarded with a truly unique interior that will be a pleasure to own and get to know – and enjoy for a lifetime, if you do it right.
FAQs
How long does it typically take to restore a vintage car’s interior?
Restoring the interior of a classic car can take several months to a year, depending on the amount of work needed and the time it takes to acquire parts and materials.
Can I restore my vintage car’s interior on a tight budget?
Restoring the interior of a vintage car can be expensive, but there are ways to cut corners and still end up with a deluxe interior that is affordable. When it comes to parts, source them from salvage yards or online. Do as much of the work as you can yourself.

Leave a Comment