
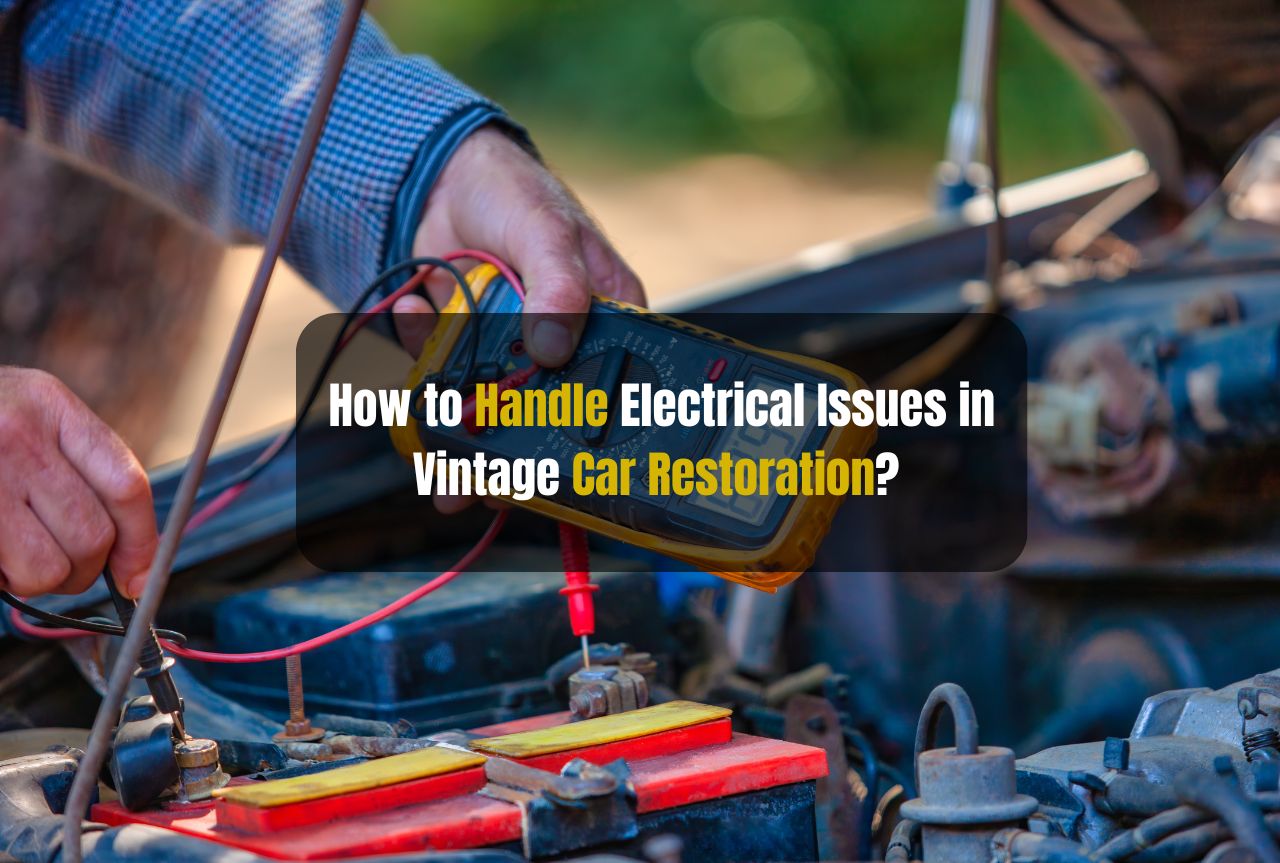
Restoring an old car can be a very gratifying experience; however, there are numerous challenges on the way. When it comes to vintage cars, there’s a wide range of issues related to the electrical system.
Just like there are other noticeable problems like broken windows and dented panels, vintage cars are often fitted with very old and deteriorated wiring or have wiring damaged by tree moss or rodents; these can lead to various issues.
In this ultimate guide, we will show you how to deal with electrical trouble in vintage car restoration.
Understanding Vintage Car Electrical Systems
The electrical system in vintage vehicles had two, and sometimes three, primary components. Generally, these consist of a battery, generator (or alternator), voltage regulator, ignition system, lighting, and wiring harnesses of varying simplicity.
The simplicity of the electrical system made it much easier to work on when compared to today’s electronic vehicle electricals.
Battery:
The primary source of usable electrical energy when the engine is not running, and it provides additional electrical current in support of the charging system when the engine is running.
Generator/Alternator:
To recharge the battery and, in turn, power the electrical system. Generators were commonly used in older cars, although some newer vintage vehicles could have alternators.
Voltage Regulator:
regulates the generator/alternator output voltage to keep it at a stable level.
Ignition System:
The parts that make the engine start are the ignition coil, distributor, spark plugs, and wiring.
Wiring Harness:
The network of wires connecting all electrical components.
Understanding these components helps diagnose and address electrical issues effectively.
Common Electrical Issues in Vintage Cars
Some of the most common electrical issues with vintage cars are described below. Recognizing these problems early can save you time and money when restoring your vintage machine and bringing it up to its good old self.
Corroded or Damaged Wiring:
Over the years, wires can become corroded and damaged within bullet-level controls, causing poor conductivity and potential shorts.
Faulty Connections:
Loose or corroded connections can cause intermittent power loss or electrical failures.
Bad Grounds:
Poor grounds cause all sorts of electrical problems, such as dimming lights and flickering gauges.
Worn-out parts:
After long-term exposure, aging electrical components such as generators, regulators, and ignition systems may fail.
Poor Fuse Protection:
Some older vehicles lack fuse protection, putting them at a higher risk of electrical fires.
Step-by-Step Guide to Handling Electrical Issues
1. Inspect and Assess
Start with a good visual look under the hood, checking and inspecting the whole electrical system for wear, corrosion, and damage. Areas to check are the wiring harness, brittle and cracked insulation, frayed wires, and exposed conductors. Connectors and terminals look for clean and tight connections.
2. Create a Wiring Diagram
If your vintage car doesn’t come with a detailed wiring diagram—many don’t—then draw one yourself. The layout of an electrical system probably matters less than its functions, stocks, flows, and boundaries; nonetheless, laying it out is a powerful tip. Think how difficult it is to troubleshoot a car’s electrical system if you don’t know where everything is.
3. Clean and Repair Connections
Brush or sandpaper old electrical connections free and then apply dielectric grease to act as a barrier for future corrosion, repair or replace damaged connectors and terminals, and finally, tighten all connections to have good contact.
4. Replace Damaged Wiring
If the wiring is burned through or corroded, replace it with a new wire of the same size and type. Use only automotive-grade wire and solder connections where possible. Then, insulate the joints using heat-shrink tubing.
5. Upgrade the Charging System
Replacing the charging system is a recommended upgrade, as all pre-1970s vintage cars, including Jaguar, come equipped with a generator.
Replacing this with an alternator provides increased power reliability and improves the charging efficiency; there are several aftermarket kits to help with this conversion.
6. Check and Replace Electrical Components
Check out the voltage regulator, ignition coil, distributor, and spark plugs. Remove any worn parts and repair or replace anything that seems amiss. Upgrade to modern replacements for improved reliability and performance.
7. Ensure Proper Grounding
Check all grounds to ensure they are clean and tightened down. You can add additional ground straps for better grounding, it is all about the ground. The system won’t work properly, ever, without solid ground.
8. Install Fuse Protection
If your collector car has poor fuse protection, upgrade to an explosion-proof fuse box. Fuses protect your electrical system from short circuits and provide a safe, controlled way to extinguish any resulting electrical fires. Research your electrical capacity, and find a fuse box that best suits your electrical system.
9. Test the System
After you do repairs and upgrades, test the entire electrical system, including voltage levels and continuity, using a multimeter, as well as the normal operation of all the lights, gauges, and electric accessories.
Tips for Maintaining Your Vintage Car’s Electrical System
If you have a vintage car, then keeping the electricity in check is essential for maintaining the safety and reliability of your vehicle for years to come.
Here are some guidelines to make sure your systems all stay in tip-top shape:
- Periodic Inspections: Inspect the wiring, connections, and components for corrosion and general wear and tear.
- Clean Connections: Keep electrical connections clean and protected with dielectric grease.
- Check Battery Health: Check the battery now and then – and replace it when it begins to slip.
- Monitor electrical performance: Look for dimming lights or erratic gauges and get problems checked out right away.
- Store Properly: If you’re storing your vintage car for the long haul, remove the battery to prevent the drain and possible damage.
Upgrading to Modern Electrical Components
Always try to keep the original look and feel of a classic automobile while adding modern upgrades to ensure reliability and performance. Here are a few modern upgrades to all vehicles:
1. Electronic Ignition
With electronic ignition, one would replace the points-and-condenser ignition system, which can be unreliable and lead to maintenance issues, with an electric ignition that is more reliable, more efficient, and provides more spark power, increasing the engine’s performance.
2. LED Lighting
Upgrade bulbs to LED, which last twice as long as incandescent ones at a quarter of the energy usage. LEDs are also more focused with wider response, increasing effective battery life.
3. Modern Wiring Harness
Installing a modern wiring harness will make the wiring simpler and more reliable. Modern harnesses have better insulation and connectors, making them less prone to short circuits.
4. Upgraded Gauges
Replacing century-old, failing gauges with modern gauges can give you much better readings and enhance the driving experience while keeping the same vintage look on the dash. Many aftermarket gauge companies make new gauges that still look vintage but are modern under the surface.
5. Enhanced Audio System
While it is nice to enjoy classic tunes, upgrading the audio system, not the engine, can improve the driving experience without sacrificing the car’s classic feel. Nowadays, many aftermarket audio systems can be installed on classic cars, and a variety of classic car radios fit almost all models.
Safety Considerations
It is not safe to work on an old-model car electrical system. Below are some details to consider when working under the hood:
- Shock Treatment: Unplug the battery before working on the car’s electrics.
- Keep tools away after use: Keep your tools off the floor when finished so that you can begin your work the next day without fear of being injured by a stumble across a fallen tool. Use the proper tools: Always use insulated tools when working on electrical parts to prevent electric shock.
- Solder in a Well-Ventilated Area: If practicing circuit construction by soldering or dealing with chemicals, make sure that there is sufficient ventilation to keep plumes of fumes out of your lungs.
- Obey the Manufacturer’s Dictum: Follow the instructions and guidelines given by the maker of the component that you want to replace or upgrade.
- Follow Manufacturer Guidelines: Stick to the manufacturer’s instructions and recommendations when swapping or upgrading components.
Troubleshooting Common Electrical Problems
1. Dim or Flickering Lights
Dim or flickering lights can be caused by bad, weak, or corroded ground wiring. Make sure all ground connections at your lights are good, and have your wiring checked. Another option is to replace your lights with LED lights.
2. Battery Drain
Battery drain is a common problem with vintage cars. It occurs when a battery discharges over time. A bad voltage regulator, a short in the circuit, or an old battery can cause this. Capacity tests will detect weak spots and fuel injectors must be in good condition to prevent charging trouble.
3. Intermittent Electrical Failures
Diagnosing electrical problems that cause a light to work intermittently can be maddening. But as with all intermittencies, the most often-caused cause is a loose connector or a corroded connection. Hunt them all down, look for any sign of damage or corrosion, and retighten or replace them as necessary.
4. No Start Condition
If your vintage car fails to start, it might be due to the ignition system, battery, or starter motor. Thus, the battery charge must be checked, the ignition components must be inspected, and the starter motor must be tested. Replacing worn parts will usually solve the problem.
Final Thoughts
Addressing electrical issues in a vintage car restoration is time-consuming and tedious. You have to carefully observe how the system works, take care of the repairs and upgrades, and ensure the integrity and safety of your vintage car’s electrical system.
Ultimately, it’s your job to tend to the electrical system of your vintage car regularly and consistently: that’s the secret to the longevity of your vintage car.


Leave a Comment