Restoring a classic car is a labor of love. Of course! Just like a project fanboy restoring a PC, it’s a long and refreshing journey – a mix of passion, talent, and hard graft. And like the PC restoration, documenting progress is vital.
Not only does it help you keep track of what you’ve done, changed, and replaced, but it creates something useful: a record for your benefit and others.
Why Document Your Restoration Journey?
Before we talk details about how exactly to document your vintage car restoration process, let’s do a quick reminder about why it’s even important: keeping an accurate record of your restoration process has multiple benefits:
Progress Tracking
Keeping a record of everything you do along the way helps give the experience a narrative arc, making it easier to see how much progress you have made and keeps you going until the end.
Troubleshooting
Recording precise descriptions of the problems and how you solved them creates an archive that you can consult again the next time you experience a similar problem.
Sharing Knowledge
Your record can also help other researchers who might want to explore similar scenes, assist them in avoiding your mistakes, and learn from your successes.
Preserving History
Vintage cars are a part of our cultural heritage, so documenting your restoration adds to the history and story of your old car.
Planning Your Documentation Strategy
Planning your documentation strategy can make all the difference when stripping down your classic car. Consider the following:
1. Scope
Decide whether you need only the big picture or if you want to document every nut and bolt.
2. Methods
Determine your methods of documentation: written notes, photographs, video, or a combination of all of these.
3. Tools
Collect the documentation tools and instruments: a camera, a video recorder, a notebook, storage devices, etc.
4. Organization
Figure out where you will store your documentation, whether it will be in a binder of notes, paper or digital folders, or on a website.
Capturing the Before Pre-Restoration Documentation
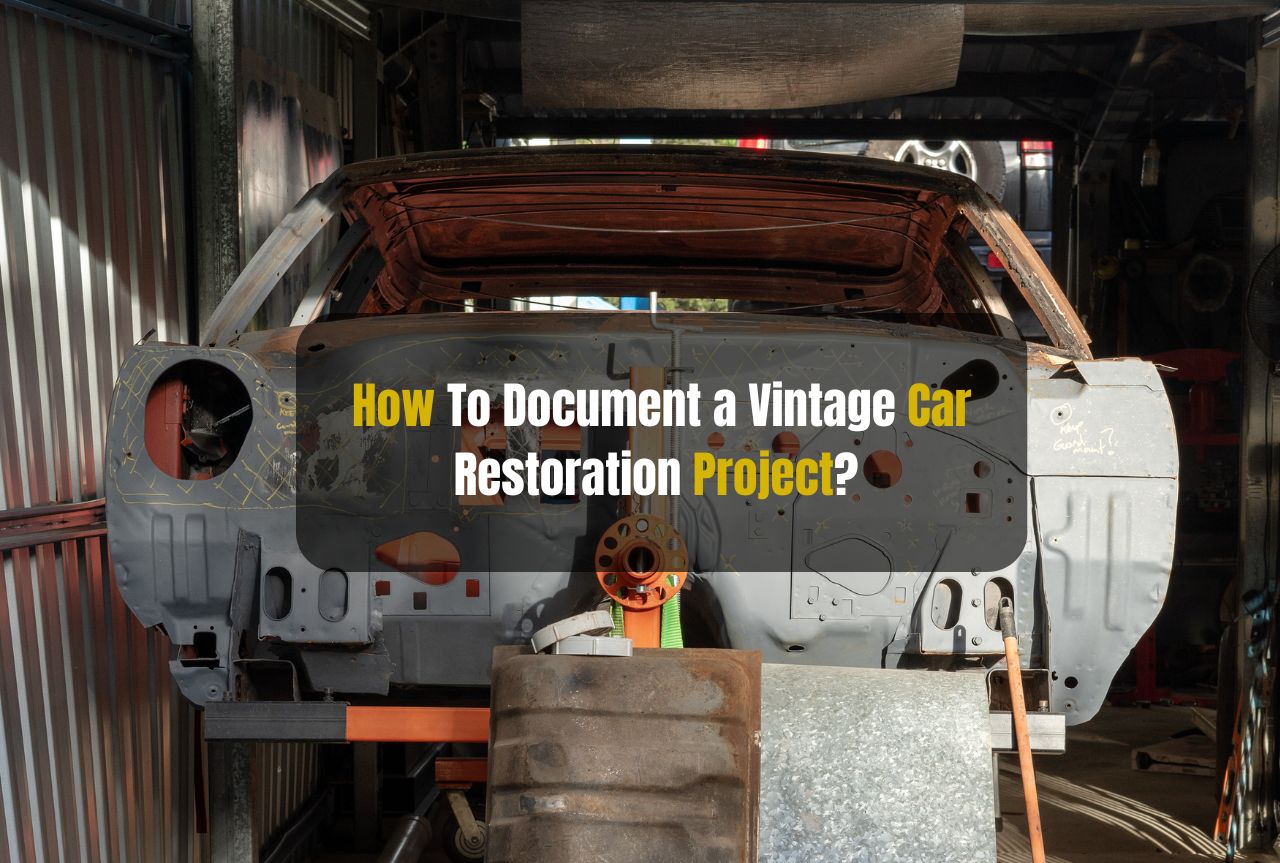
The first piece of advice is to document the car’s initial condition before starting the restoration. This is your baseline, a way to measure your progress and, most of all, to look back and see how far you’ve come.
Here’s what to include in your pre-restoration documentation:
Detailed Photos:
Make sure to take detailed photos of the car from all sides, both long distance and close-ups, of specific features, damage, or points of interest: the interior, the engine bay, and the undercarriage.
Vehicle Information:
Get the car’s make, model, year, and vehicle identification number (VIN). If you can, obtain the owner’s history or service records.
Condition Assessment:
Write a general description that makes sense to someone trying to picture what the car looks like, often with minimal training. It’s important to point out anything that looks different, has rust, or is missing. This will allow you to establish a general idea of the condition so you can prioritize your restoration.
Disassembly and Inventory: Keeping Track of Every Part
Be sure to document what you do because that also helps you figure out how to reassemble it. So, when you start to take apart your old classic car, do this:
Photographs
While each item is still attached, take photos that show each part from different angles. You can use these when putting the putting back together again, and you can’t remember exactly how everything fits together.
Labeling
Tag each before you take it off, using a numbering system that makes sense to you – numbered tags, plastic bags, or a digital inventory system.
Inventory List
Make a detailed, ordered list of everything that you remove and what condition it is in so you don’t have to repair or replace things that you have taken off. You’ll be glad you did.
Documenting the Restoration Process: A Step-by-Step Approach
As you go about restoring each part of your collector car, you might take notes on exactly what you did to each part, in what order, and why. These notes serve a couple of purposes.
By taking notes, you can be sure that the next time you need to flip, reseal, and lubricate, you have that information readily available.
The process of jotting down notes has the added benefit of helping you learn about the exact procedures you need to take care of to get things done correctly.
Here’s what you might want to include in your restoration notes:
Written Log
Keep a written record of each step, including the date, time of day, and duration of the recorded work session, along with photos of obstacles, mitigation, tools and parts, and remediation.
Progress Photos and Videos
Snap pictures of your progress at every step, including front, back, and side views. Take shots before and after each element is completed.
Modifications and Upgrades
If you modify anything or make improvements, explain what you’ve done and why, and describe the new elements – whether parts or techniques – you’ve used.
Reassembly and Final Touches: Bringing It All Together
As your restored vintage car begins to come back together, keep documenting. This is when it all starts to pay off; you get a sense of what you’ve accomplished, and you want to record that feeling.
Final reassembly documentation might be as thorough as your pre-teardown documentation. If that’s not the case, and you’ve been less systematic, still record everything as you go – no need to wait for the end. What goes into reassembly documentation?
Reassembly Photos
Shoot some pictures as you go along of the reassembly to show how the restored parts fit together—this is an invaluable reference should the item ever need service or repair again.
Challenges and Solutions
Please note what you found, what went wrong, and how it was resolved. Such details are worth their weight in gold when troubleshooting similar problems in the future.
Final Reveal
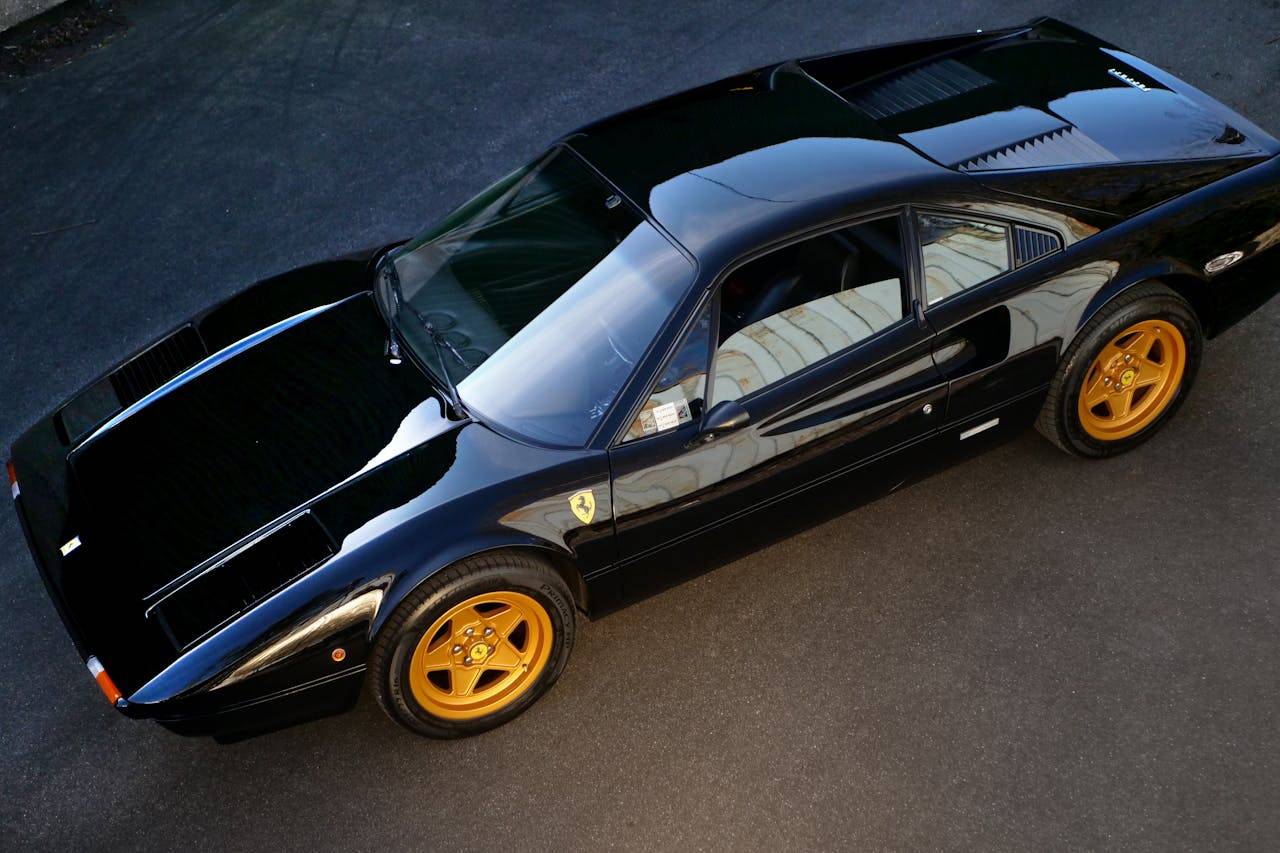
Next, take pictures of your car once the restoration is complete. Show it from every angle and include close-ups of the exterior, interior, and special features that showcase your skills.
Sharing and Preserving Your Restoration Journey
Once you’ve done a good job saving, you’ll want to display your restoration and archive it for future reference. This is how you do it:
Create a Portfolio
Catalog your documentation by placing it in a folder (digital or physical). Make a photo book or video montage of the best parts of your project.
Share with the Community
Get it in front of the retro-car community by posting it to forums, on social media, or by submitting it to the same magazines or websites you’ve been using as resources.
This not only helps you share with other enthusiasts about what you are doing but can also spread your hobby and, by doing so, inspire others to restore cars as well.
Preserve for the Future
Be sure that any documentation you create is secured somewhere safe for the long term by sidelining digital files in multiple locations and storing physical copies in fireproof boxes. In this way, future generations can continue where you left off.
FAQs
How often should I take photos during the restoration process?
At regular intervals (the beginning of the restoration process, the end of each work session, whenever you reach a major milestone), take photos of the progress. The more photos, the better.
Are there any specific software or tools recommended for documentation?
There are many pieces of software you can use to keep track of your restoration project, from a simple photo editing app to a detailed project management application.
A few to try include Adobe Lightroom, Trello, and Evernote.

Leave a Comment